The Kit:
Minicraft 1/144 Scale Lockheed L-188 Electra – Eastern Airlines boxing.

Planning:
Originally I was going to do this one in the box Eastern Airlines livery but it has been sitting in storage and on the shelf for years and the decals were water damaged at some point. Coming off of the Lockheed T-33 I wanted to do another bare metal airplane to develop my skills using the Alclad II Lacquers and try a different shade as I wasn’t very happy with how the T-33 came out. So I looked on the shelf and pulled this one down. I then was looking toward a PSA livery, that’s Pacific Southwest Airlines for those of you who may be er… younger than I am. Their livery was iconic in my younger years and every airplane had a happy face on it! I decided against that for whatever reason. The television show Ice Pilots NWT chronicled Buffalo Airways and featured the Electra very heavily. So what I finally really wanted to do was a Buffalo Electra, A decal sheet was, at one time, available but is now seemingly unobtainable… I would guess due to licensing so as a fall back I decided to still give the cargo Electras a little love, and eventually settled on Zantop Airlines.
Building:
I had, apparently started on it previously as the Fuselage and wing assemblies were glued together already, weight added to the nose to make it not a tail sitter, of course! I immediately noticed that this kit did not have any surface detail. It had very rudimentary flaps, incorreectly shaped, and ailerons and elevators and rudder but the rudder was shaped incorrectly as well and it all looked terrible. With that in mind I decided I would also use this one to develop my scribing skills!
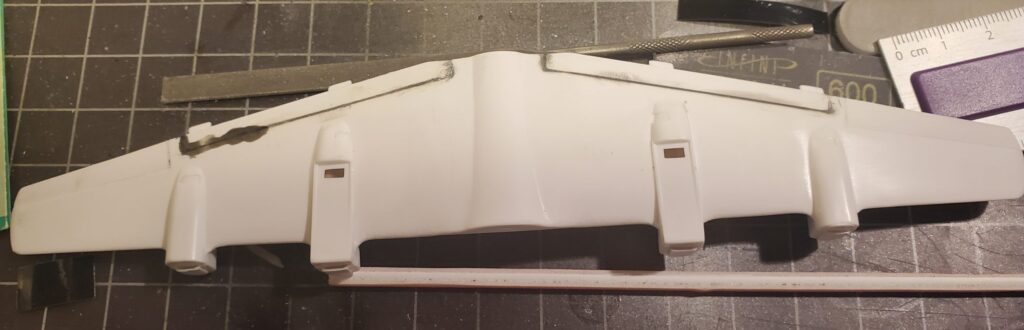
The first step was to use Sprue Goo to fill the incorrectly shaped details that did exist, like the flaps, which were completely the wrong shape and terrible anyway. After that I used a line drawing of the Electra I found on the internet, my eyeballs, a simple scribing tool and some Dymo tape as a guide and started scribing!
I started with the wings as those were mostly straight lines and a bit easier to manage. In areas where the Dymo tape was too stiff to conform I used Vinyl Fine Line tape which conforms easier but is a bit less forgiving.
In any case I started off with a very light scribe and then increased the pressure as the line got deeper until I was happy with the results. In the end the lines are far too wide and far too deep so for my future endeavors I purchased a couple different scribe tools which should make my next attempts far better.
Once the wings and tail were done I worked on the fuselage, I started by scribing the circumferential lines as those would be easier to get right and then could serve as guides for the long lines down the length of the fuselage. Everything was done by eye and by measurement as best I could with a drawing that was not the same scale. Mistakes were made, but the overall effect was very satisfying, I would advise not to try to freehand any scribe lines unless you have far less shaky hands than I do! For the passenger door insert in the cargo door I used the decal I was planning to use as a guide for the size and shape. I got it close. There was a lot of cursing, filling, and sanding, and re-scribing. I also scribed some basic fuel caps in the wings.

In addition to the lack of surface detail, there were several heinously bad fits and incorrect shape on this kit.
The engine cowls come in two halves for the aft part of the nacelle and then a front “cap” for the intakes and propeller gearboxes. The halves fit okay to the wing requiring a bit of filling and sanding but the front caps fit horribly. There was nothing for it but to glue them on and then try my skills as a sculptor. Spoiler alert… I’m not one. Eventually they were acceptable, if nowhere close to accurate.
In addition I decided that the cockpit windows were so hilariously wrong, and my decal sheet came with a much better representation of them that I filled the frames on them and reshaped them as best I could to accept the windshield decal.
I also used my X-acto knives and carefully carved the leading edges of the ailerons, rudder, and elevators to a more airfoil like shape, as seen on the real thing. All of this was accompanied by sanding to smooth out any rough edges.
The wing tips and tip of the vertical stabilizer and rudder were the incorrect shape as well, a relatively easy fix, and the final bit of filling and shaping is with the wing leading edge to the wing root which are two completely different shapes on this kit, leaving a ridiculous step that definitely does not exist on the real thing. I used sprue goo, sanders and files to carefully shape it as best I could.
Painting:
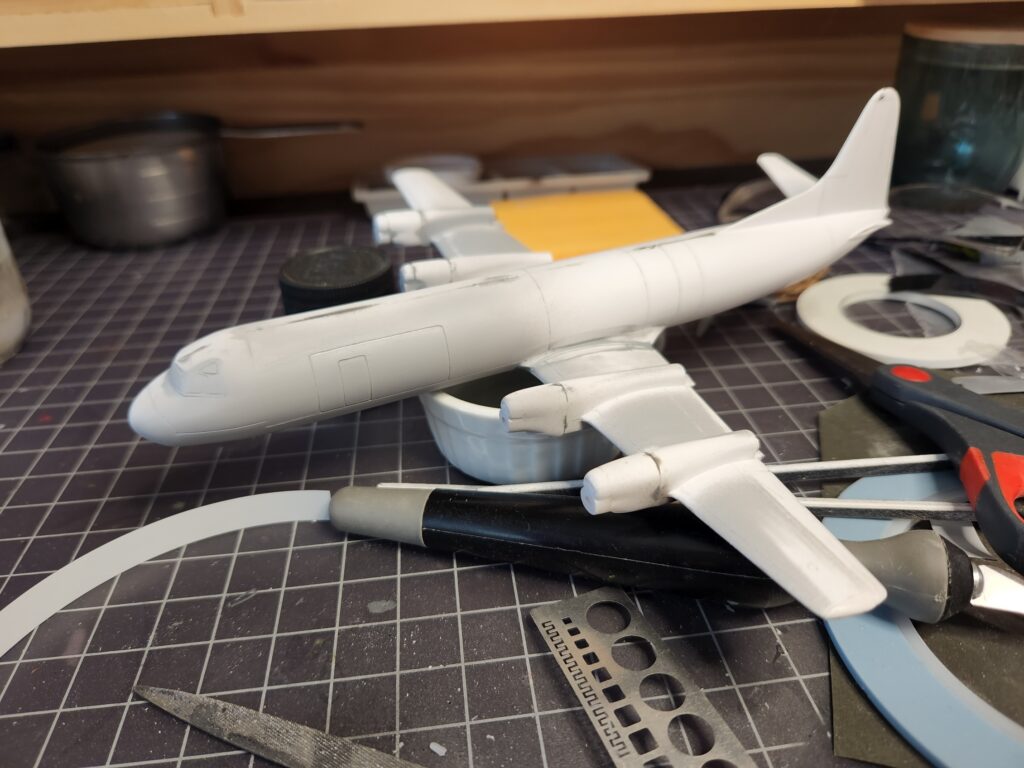
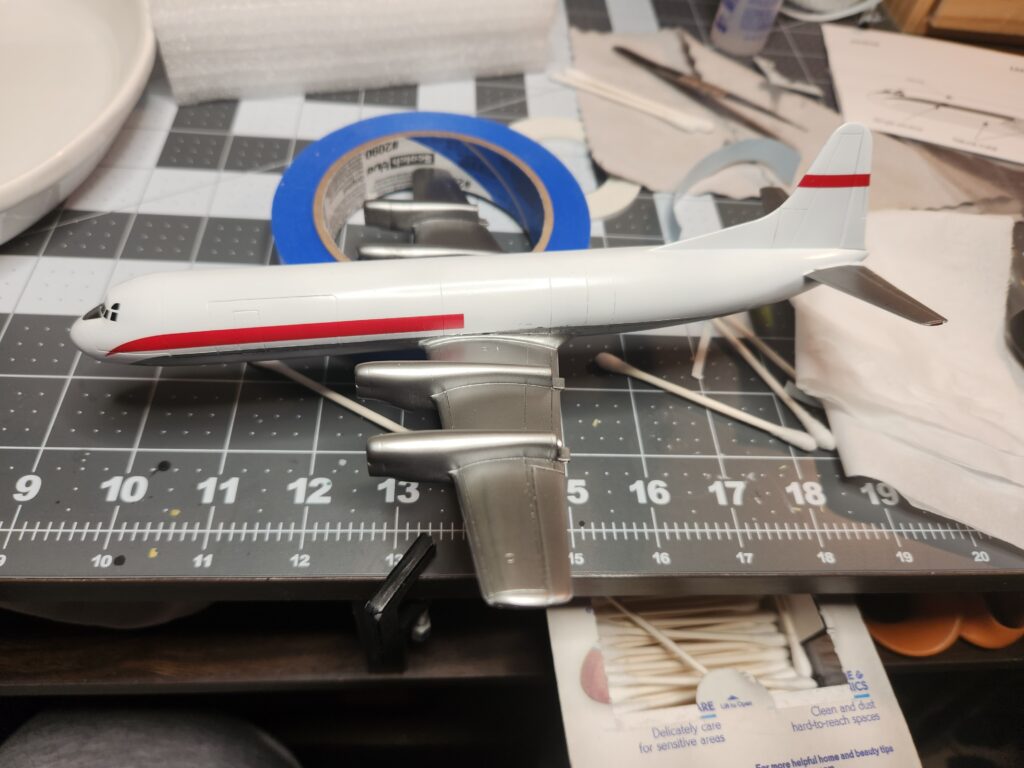
Eventually I ran out of patience and it was time for a coat of primer. I generally use rattle can Mr. Surfacer grey primer as it’s quick and easy for a base coat over the full model. I fixed a few final things that the primer coat showed and then, since it was going to be bare metal on the wings and lower fuselage, it also got a coat of Alclad II gloss black base, though I think I didn’t get a photo of that step.
I likely wont use this stuff again after it’s gone as it seemingly *never* dries. Seriously, I left this kit on the shelf for several months during this build after the gloss black was on it and I was still able to pick it up and leave fingerprints in it. Once you spray the metal on it it does cure hard, mercifully. I will probably go with Mr. Color GX-2 and Mr. Color Levelling thinner in the future.
At this point this project went on the shelf for a few months while I went to training at a new job, when I came back I focused on other projects for a while. I came across it while in a slump on another project and decided it was time to spray some paint on it.

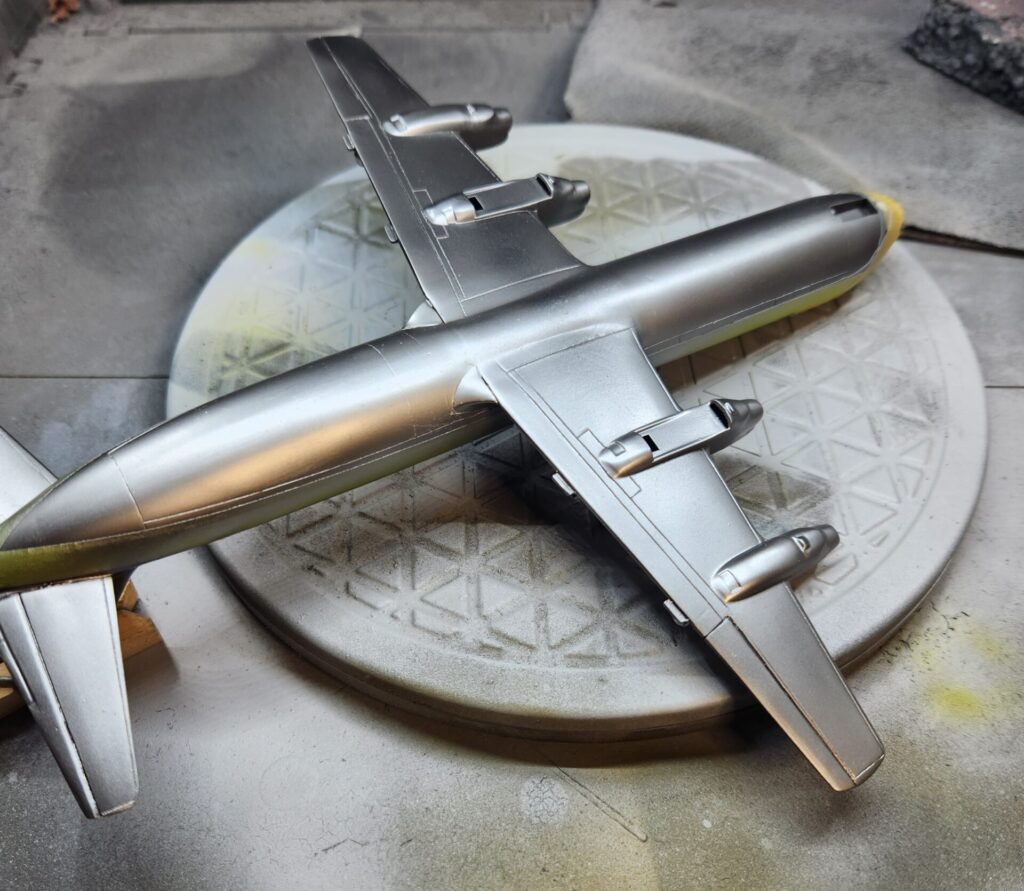


I sprayed the bare metal surfaces first. My first try at bare metal, the Lockheed T-33, used Alclad II Aluminum and I wasn’t overly happy with the results. In my opinion, Aluminum was too bright a shade, and I sprayed it on far too thick, for bare metal finishes you really want to “sneak up” on the look you want by lots of mist coats of paint. For this one I used Alclad II Duraluminum which is a deeper shade.
Once I was happy with that I sprayed the white, which is Mr. Color GX-1 thinned with Mr. Color Levelling Thinner. It took a lot of coats to cover the black base so in the future I decided that I would spray other colors first and then mask and paint any bare metal sections. I peeled the tape too early which left a marked ridge on the boundary between the two colors, some light sanding made quick work of that.
Finally, I sprayed a clear coat of Alclad II Aqua Gloss to seal the paint in. Aqua Gloss is all the rage these days but I have to be honest, so far I’m not that impressed by it. There are a couple areas on the white paint where the aqua gloss refused to touch, leaving a patch of dry paint, I’m still not sure why, no matter what I did, sanding, cleaning, wiping, the Aqua Gloss refused to stick in those patches, thankfully the base coat of white was good enough that it’s not very noticeable. I never had this problem with Future. I think the Aqua Gloss works really well on the bare metal, however, not affecting the shade or the look of it very much. I’m sure the problem is me, I’ll keep trying until I get it right.
Decaling and Finish Work:
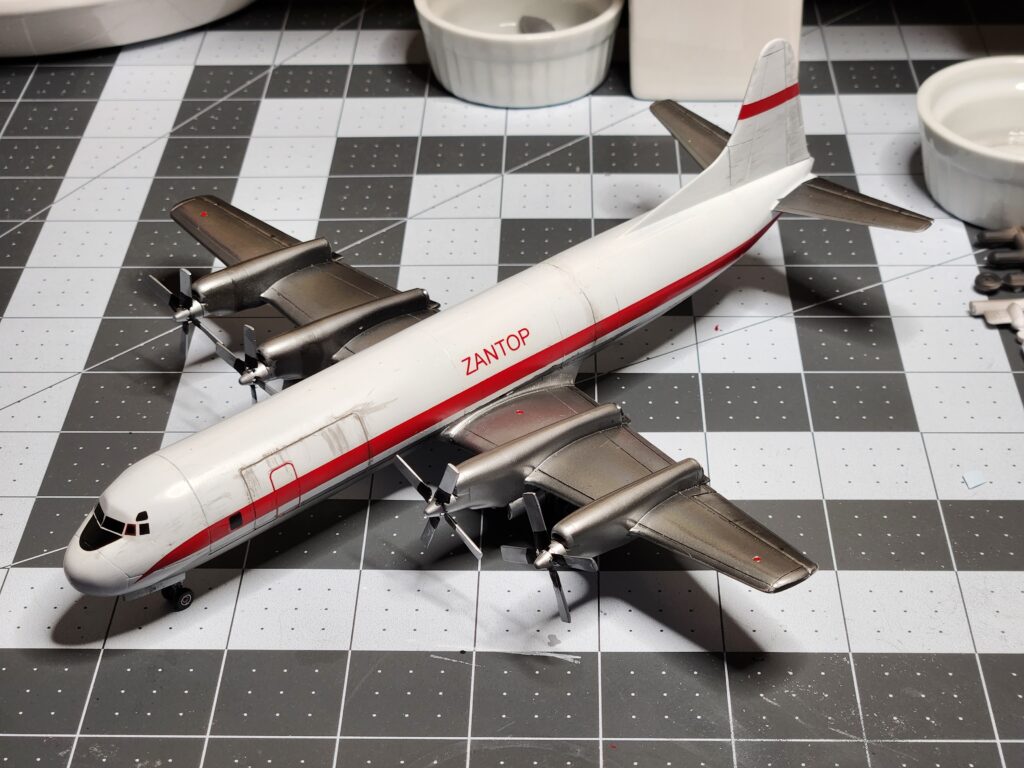
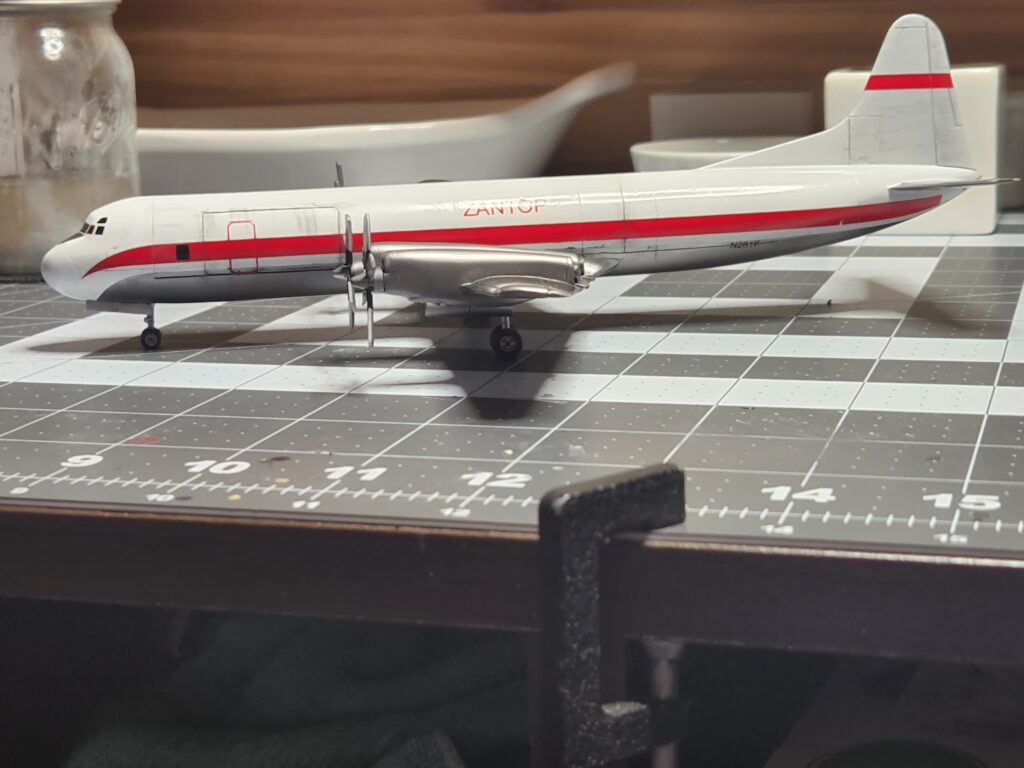
The Zantop livery, quite basic, includes a red cheat line, red stripe on the tail, ZANTOP in red lettering and thats about it! Working class freighters, these!
The decal sheet was pretty old when I got it and was extremely fragile, I spent a lot of time trying to line up fragments of torn decals and thankfully by the end there was only one tiny part under the tail on the left side of the airplane that was unrecoverable. At the end of the day, it’s not uncommon for a freighter to be a patchwork of paint repairs and scruff, so I decided to leave it! I pretty much only use Solvaset to set my decals. I can’t ever tell that Micro Set does anything at all and Micro Sol doesn’t usually do enough.

I also tried something largely new, to me, on this one: Weathering! I had never done much weathering to my models for a couple reasons, 1.) Weathering was always kinda scary to me and I was never good enough at building to waste a decent paint job by putting something over it that might damage it. and 2.) I actually kinda like a factory fresh looking airplane. Weathering is the rage these days, though, and freighters rarely get washed so I decided to start adding that to my wheelhouse. The only real thing I ended up using on this one was Tamiya panel line accent and it didn’t work *that* well, but I did get a nice effect and since then I’ve learned how to clean up the bits I don’t like.
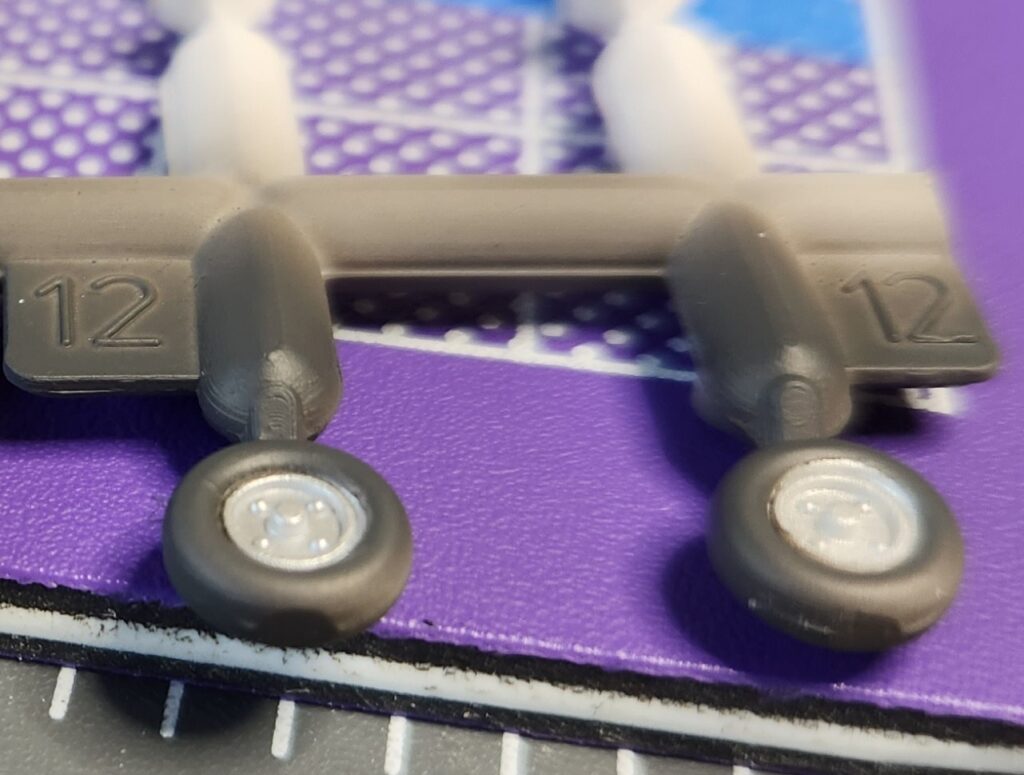
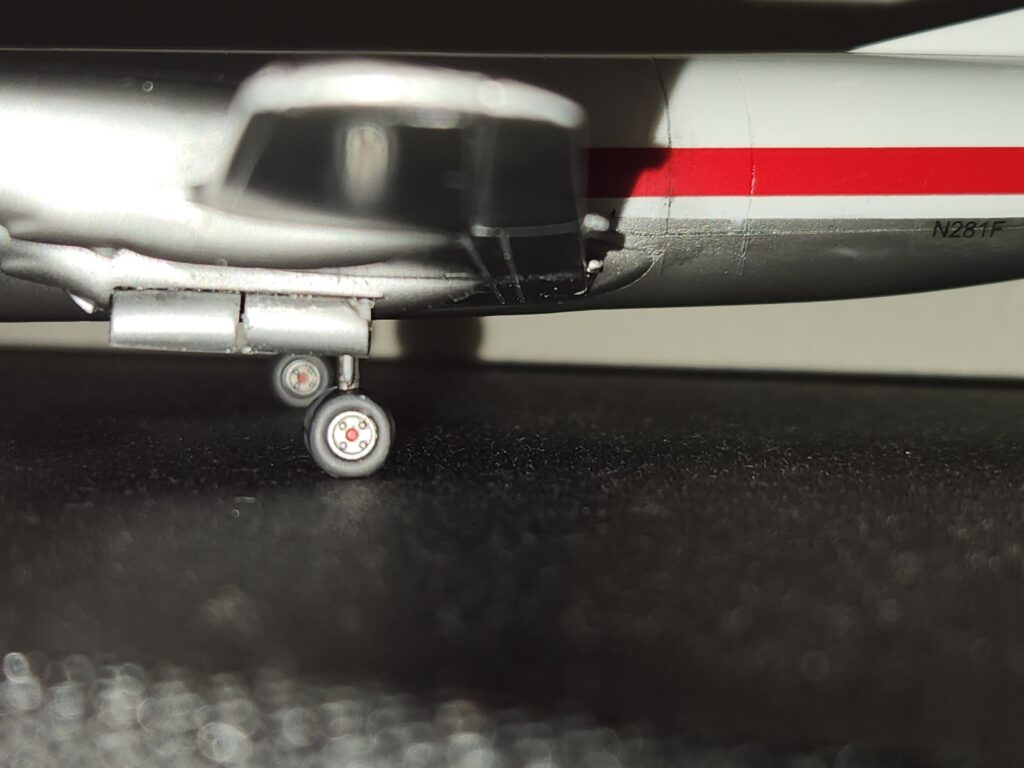
After decals and weathering it was time for a final clear coat or two of Aqua Gloss, which still refused to stick to one small patch, and while that was drying I worked on the landing gear and propellers. A huge shoutout to my DSPIAE Circle Cutter which has made painting wheels not nearly as terrifying as it used to be. Getting the right size circle is slightly fiddly but once you have it you can cut perfect circles in tape all day! After painting a wash with the Tamiya Panel Line Accent and a toothpick to paint the wheel caps red and the landing gear ended up looking pretty good! Tire paint was Alclad II Aluminum and MRP Tire Rubber. The landing gear doors come in one piece and you have to cut them apart, once you do that there is absolutely zero location for them in the gear wells so a little bit of shaping and superglue

The propellers had previously been sprayed Alclad II Aluminum and after snapping off a couple blades trying to mask them to paint the blade root ice boots I got fed up and decided to brush paint them. This did give me the opportunity to try something new that I had ordered: Modeller’s World Levelling Thinner for Brush Painting. I ordered it and it got from Poland all the way to my local UPS office nearby before UPS destroyed the package.
Modeller’s World contacted me immediately and asked if I wanted to try again or get a refund and I really wanted to try this stuff so I asked them to send another shipment. Thankfully this one arrived safely. The verdict: Where has this stuff been all my life?! The instructions say to thin paint to 50 to 80% thinner, but in my experience a drop of this stuff in two or three drops paint is already a huge improvement! If you do thin it per the bottle you may need two or more coats of it to cover but the result is amazing! Don’t take my photo’s word for it, tiny parts, shaky hands, and sausage fingers!
After that was done I glued the propellers on and all of a sudden we were done!
Final Thoughts:
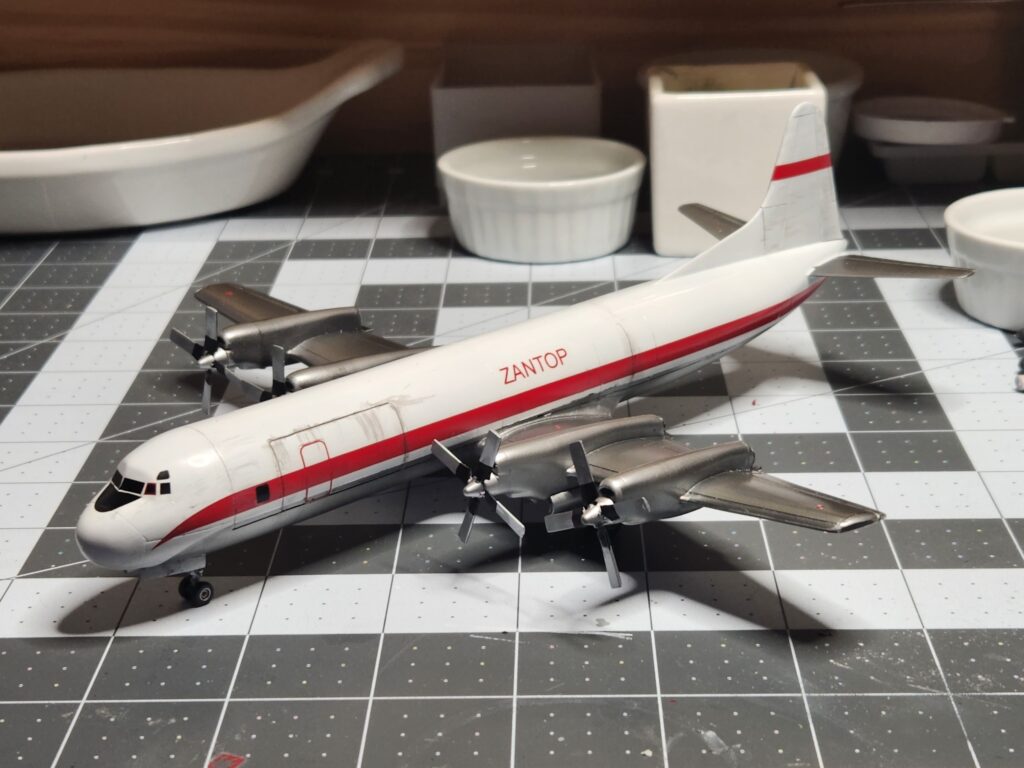
I don’t know what I paid for this kit but I hope it wasn’t a lot. It took a lot of work to even get it to this point, hence why I named it “Treasure From Trash.” It’s still missing a lot of detail even at 1/144 scale, but after days and days of sanding and scribing and carving and filling I just couldn’t take any more. At the end of the day I am happy with the results and it looks real good on my shelf. If you want an Electra it’s kind of your only game in town, just go in with your eyes open! I hope you enjoyed this build log, this one is done largely from memory as a proof of concept, future ones, I hope, will be more detailed!
Thank You For Your Time!